Protect your jumping paradise
When your beloved dirt jumps won’t stop crumbling, it’s time to mix some Quickcrete.
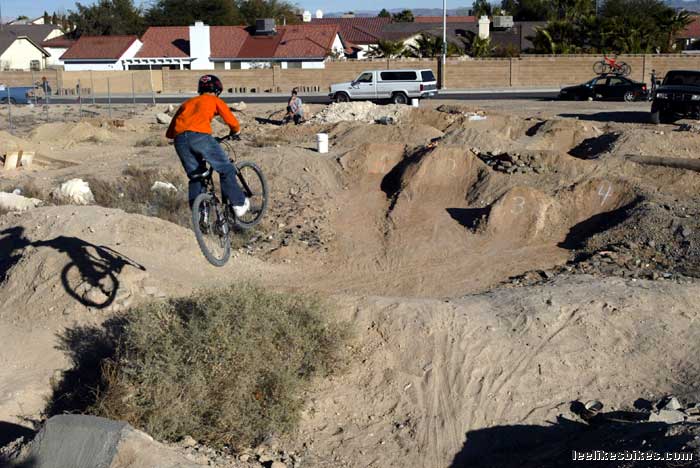
You find a vacant lot near your house. It’s across the street from a supermarket and a housing complex, but it’s been idle for as long as you’ve known. It has two levels, with a slope connecting them and dirt piled all over the lower level. This place has definite potential. You’re a professional musician, part-time airbrush painter and semipro mountain bike racer. Your life philosophy requires that you have plenty of free time. So you start building. The crumbly dirt resists your attempts to pack it, so you bring buckets of water from home. After hours, days and weeks you moisten, dig and shape that potential into perfection. You have your own personal jumping paradise, just a mile from your house. You and your buddies pump your smooth transitions and soar over your perfect lips. Things are good.
Unfortunately, the billowing dust reaches the greedy antennae of a local 50 rider. He tells two friends. They tell two friends, and so on and so on. Pretty soon the little locusts are tearing up your lips. You try to reason with them. Hey, guys, this is a bike track. Please don’t ride here, or at least help me repair the lines. The response: “Screw you, dude, this is the desert. We’ll ride wherever we want.”
There’s no changing these puny minds, and you definitely can’t let the motos churn your baby into pot-holed dust. What the hell, you decide, I’ll pave the place. And that’s what you do.
Pave it!


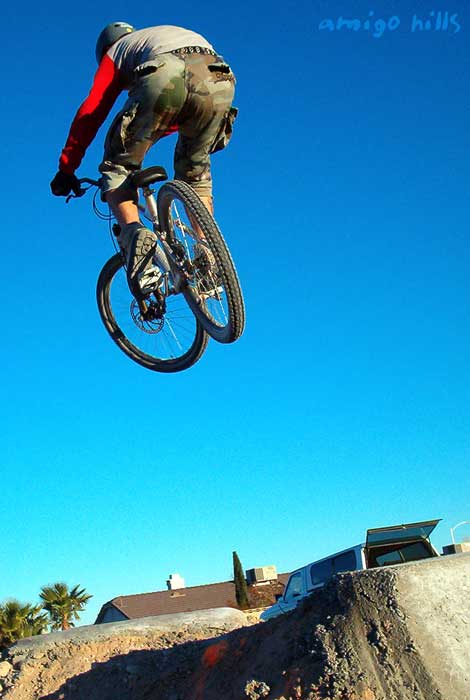
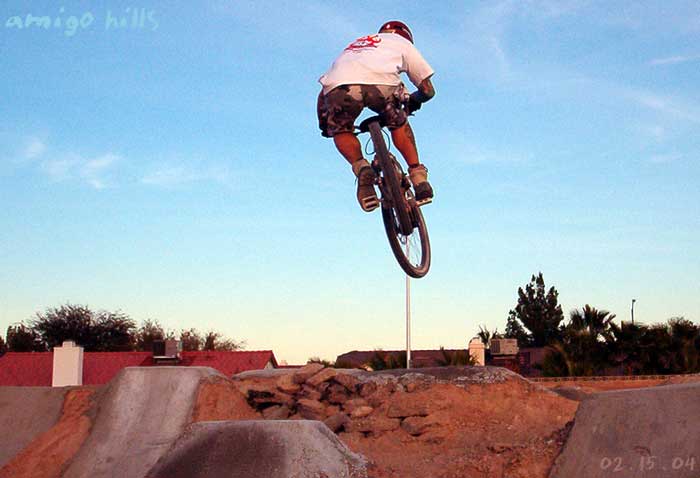
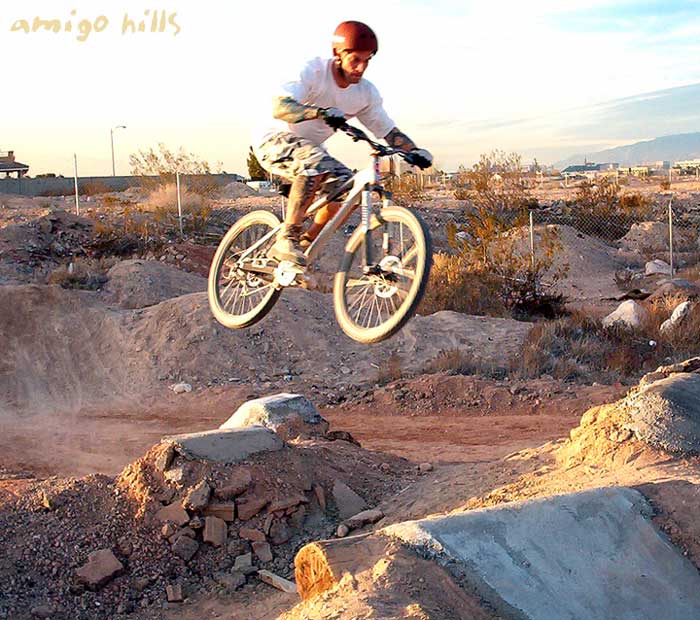
In this case, you are “Tattoo” Tony Santoro, and you’ve just finished paving Amigo Hills, your hand-hewn piece of Las Vegas paradise.
Tony’s many faces:
Whether or not mini motos braaap up your lips, concrete keeps your jumps perfect forever, especially in arid areas like Vegas. As a matter of fact, the big jumps at Bootleg Canyon are paved. Here are Tony’s tips for concreting your jumps:
Before you go all Roman, jump your jumps as “dirt jumps” to make sure your lips, landings and transitions are dialed.
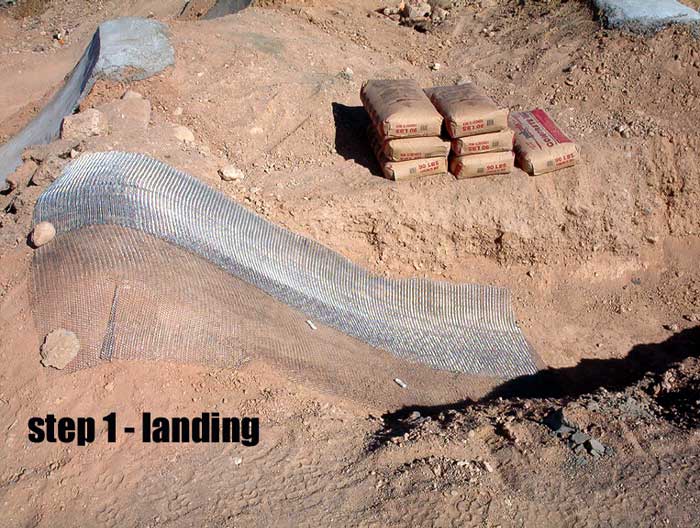
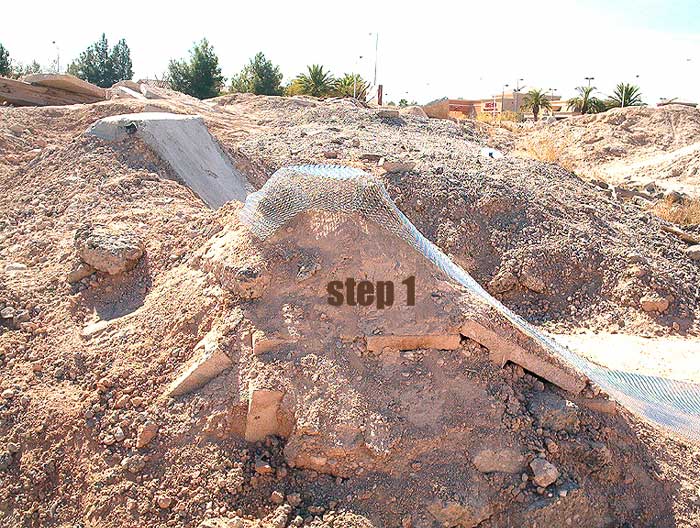
1. Get some 3′ x 8′ aluminum lathe they use for stucco, and mold it as flat as possible over the surface of your ramp. This holds that perfect curve and strengthens the concrete.
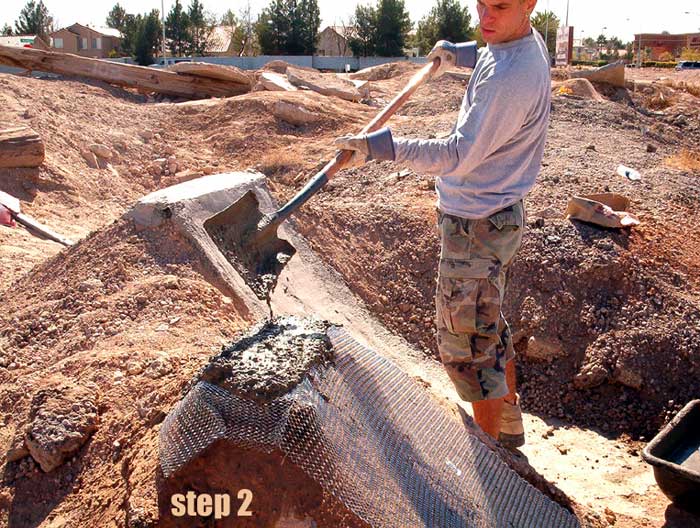
2. Mix your Quickcrete and start laying it down with a flat shovel, starting at the top of your jump. Mix it thicker for the top cap, lip edge and steep part of the transition.
3. Build the end of the lip and the top cap like a box, to strengthen the lip.
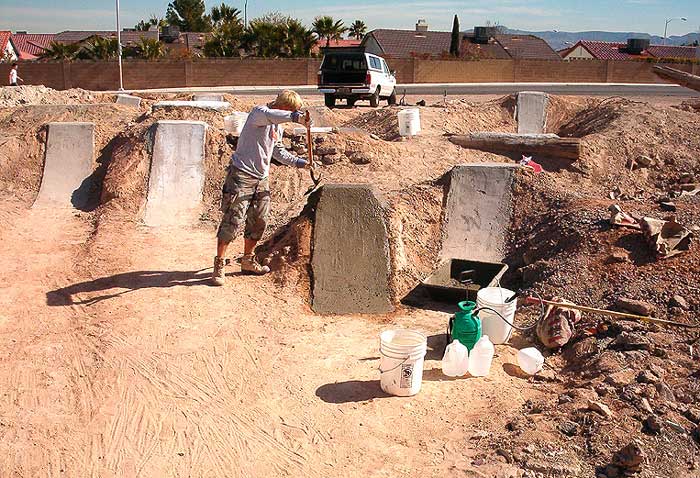
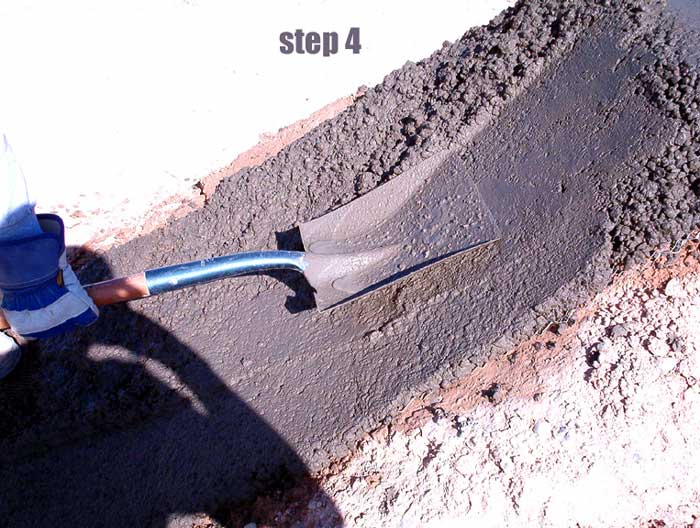
4. Let the surface cure a bit in a semi-rough finish. When it starts to harden, use a trowel (or a flat shovel) to rub in the little rocks and “float” the surface smooth.
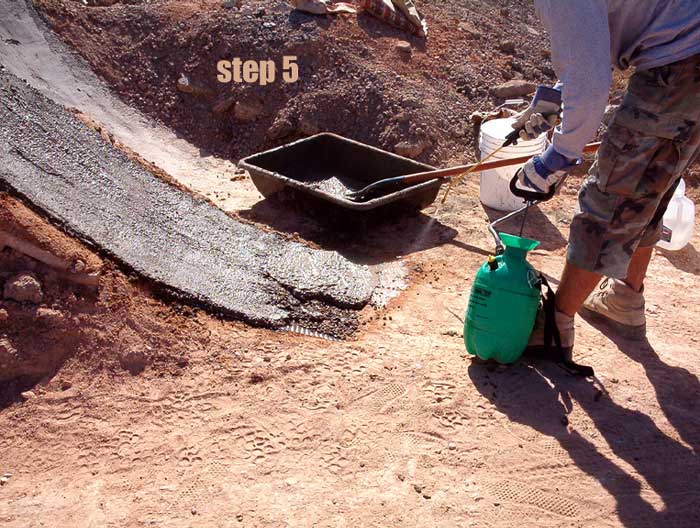
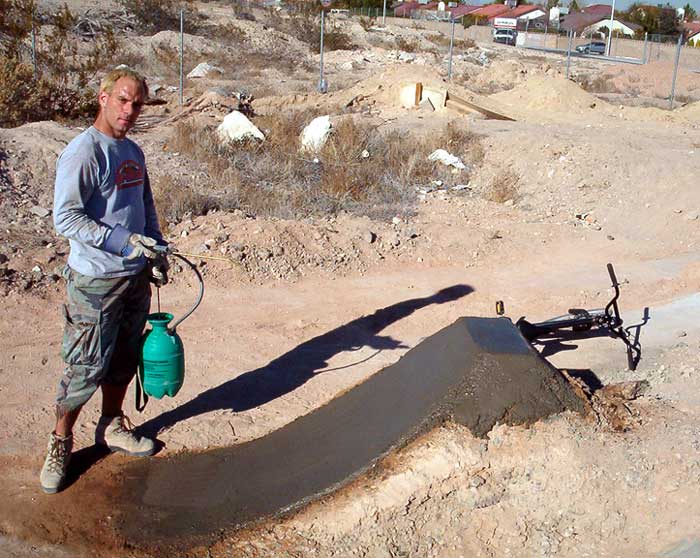
5. If you’re mixing and laying the concrete on a hot day, keep your creation moist until sundown. If the concrete dries out too quickly, it’ll develop fine surface cracks which will lead to bigger cracks and even potholes. Tony uses a $20 two-gallon pressurized weed sprayer from Walmart. Nothing but the best, baby.
6. Let the concrete cure at least 24 hours. Sweep your jumps with a broom and hit ’em!
Note: Don’t be an idiot and pave on public land, or on private land without permission.

Comments are closed.